How to Backup Windows 10 & 11 in 2025
When computers experience software and hardware failures, you can lose the entire operating system and the files you’ve saved over time. Our guide will teach you how to backup Windows 10 and 11 and retrieve your operating system and files when disaster strikes.
Imagine you wake up and find your Windows computer has crashed. Your only solution is to format the machine and run a clean installation. If you don’t have a backup device or don’t use a cloud backup service, you will lose your precious files. That’s a nightmare scenario. Don’t worry — our guide will teach you how to backup Windows 10 and 11 and secure your files.
In this guide, we’ll show you different approaches to creating backups and how to restore personal files or even the entire system when disaster strikes. We know you’re eager to learn, so let’s get started.
-
07/03/2024 Facts checked
We have completed a full rewrite of our guide on how to backup Windows 10 and 11 with an easier-to-read format.
How to Backup Windows 10 & 11 to the Cloud
There are different approaches to backing up Windows 10 and 11. For example, you can copy your files to an external backup device like a hard drive, use a third-party tool to create a backup or upload them to a cloud storage solution like Acronis or IDrive. You can learn more about Acronis in our Acronis review and IDrive in our IDrive review.
The easiest approach is to use cloud backup software with a disk imaging feature. For this guide, we will use IDrive as our cloud storage solution. You can follow along by downloading IDrive and signing up for a free account, which comes with 10GB of storage.
10,000+ Trust Our Free Cloud Storage Tips. Join Today!

- Demystify cloud storage terminology and key concepts in plain language
- Discover easy-to-implement techniques to securely backup and sync your data across devices
- Learn money-saving strategies to optimize your cloud storage costs and usage
- Sign Up for an IDrive Account
Visit IDrive.com and click “sign up” to start creating your account.
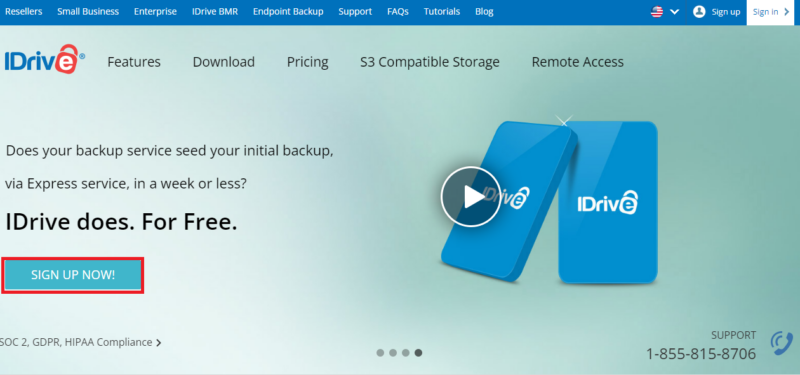
- Download the IDrive Desktop Application
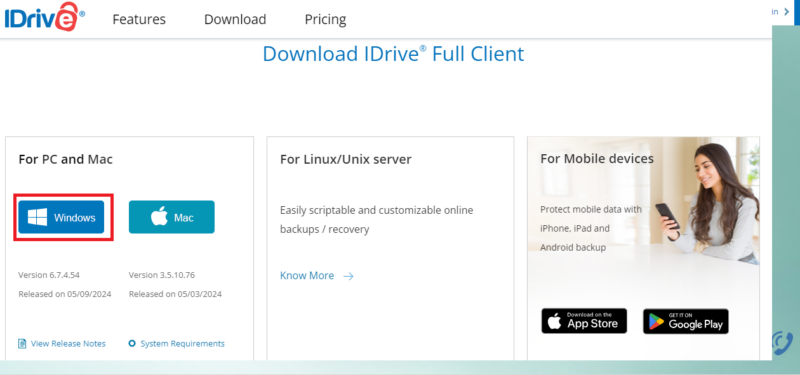
IDrive has desktop applications for PC, Macs, Linux and mobile devices. Since this example uses Windows, select “Windows,” click “download” and follow the setup prompts.
- Log In to the IDrive Account
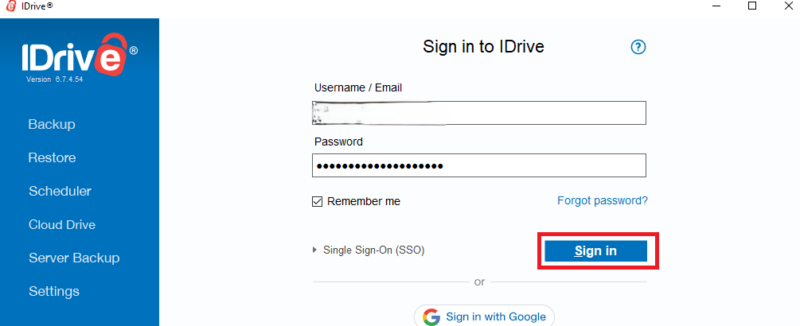
Open the downloaded IDrive desktop app on your computer. This app will prompt you to sign in using the credentials you created in step 1. Fill in the details and click “sign in.”
- Create a Backup
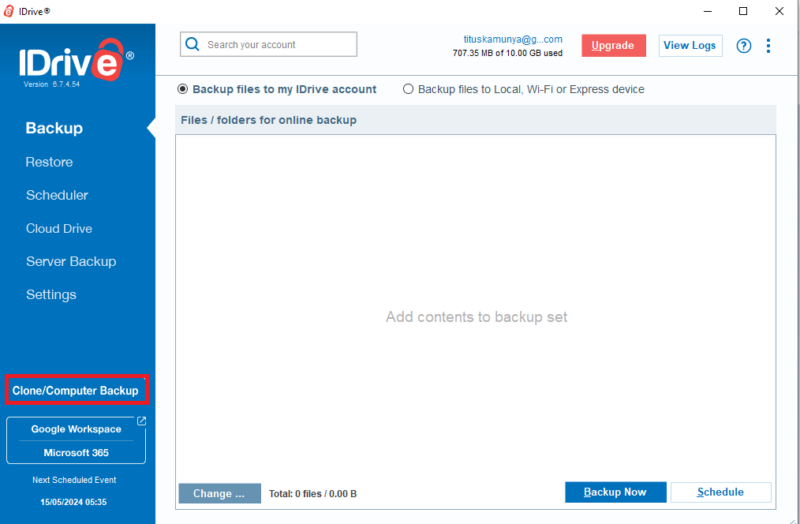
IDrive allows you to clone the entire system or select a few files to back up. Click on the “clone/computer backup” icon.
- Select “Entire Machine Backup”
The goal is to create an entire machine backup. To do so, click the “entire machine backup” option.
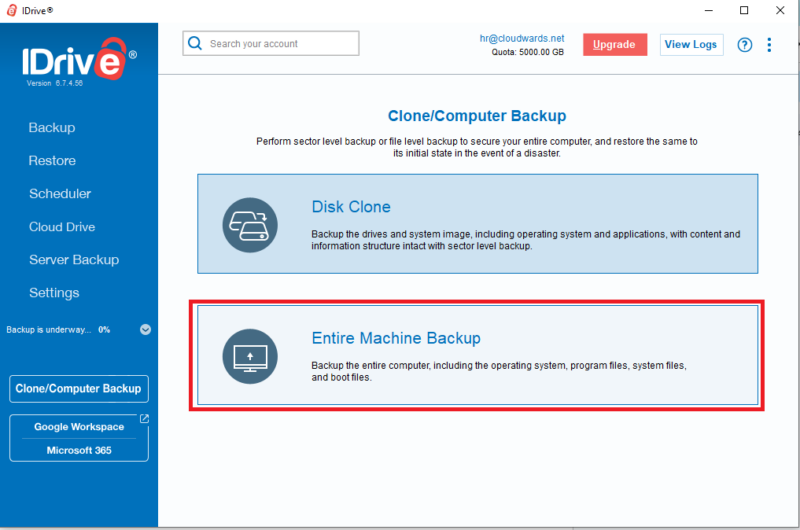
After finishing this step, you’ll be guided through the rest of the process to back up your machine. It’s really that easy.
How to Create a System Image Backup on Windows 10
A system image is a complete snapshot of the computer system at a given time. It is like taking a picture of everything on your computer, including the operating system and all programs, system settings and files.
You can use the built-in Windows tool or an external service like IDrive to back up and restore Windows. We will demonstrate how to use the built-in Windows tool later. For now, we will use IDrive to create the system image and then upload it to the cloud.
- Access Computer Backup
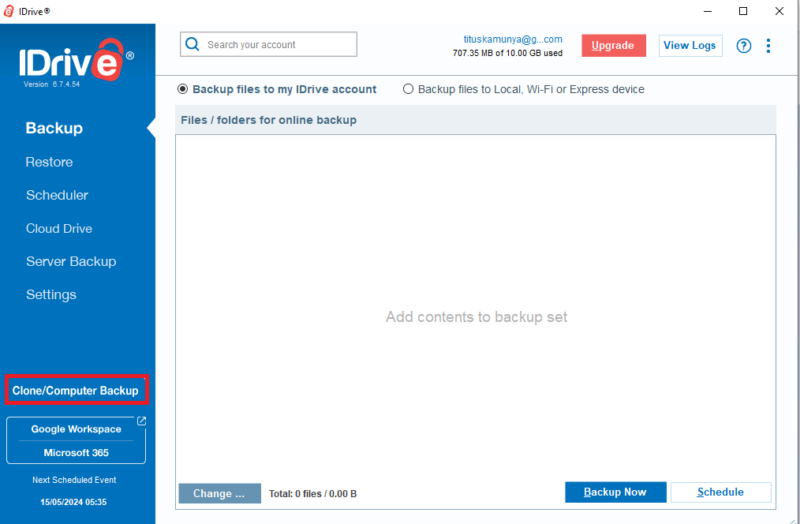
IDrive lets you clone the entire computer and keep a copy on your local storage device or the cloud. To do so, use the left-hand menu and click “clone/computer backup.”
- Select Disc Clone
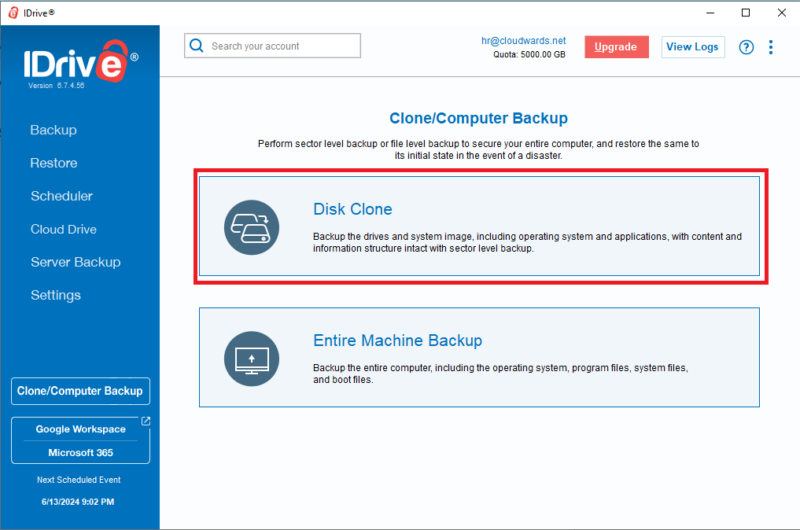
After clicking “clone,” the desktop app presents two options: “disk clone” and “entire machine backup.” Choose the first option to create a system disk image.
- Configure Your Backup
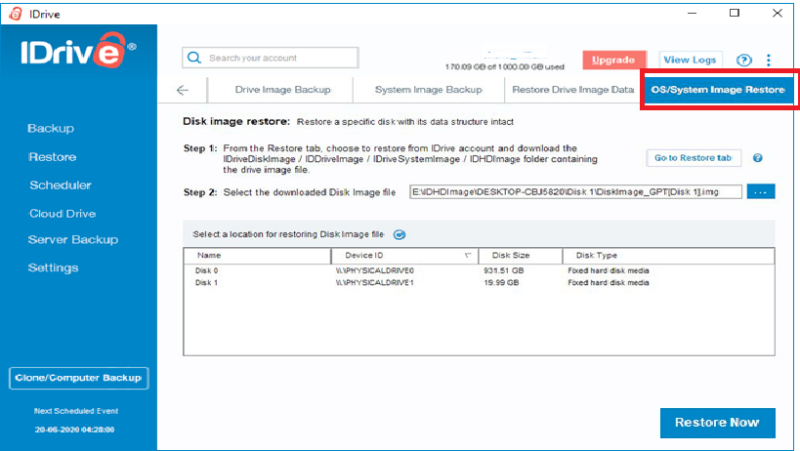
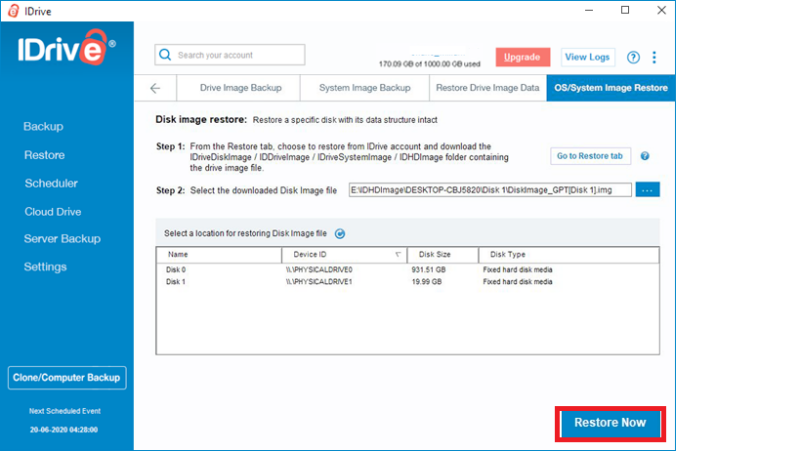
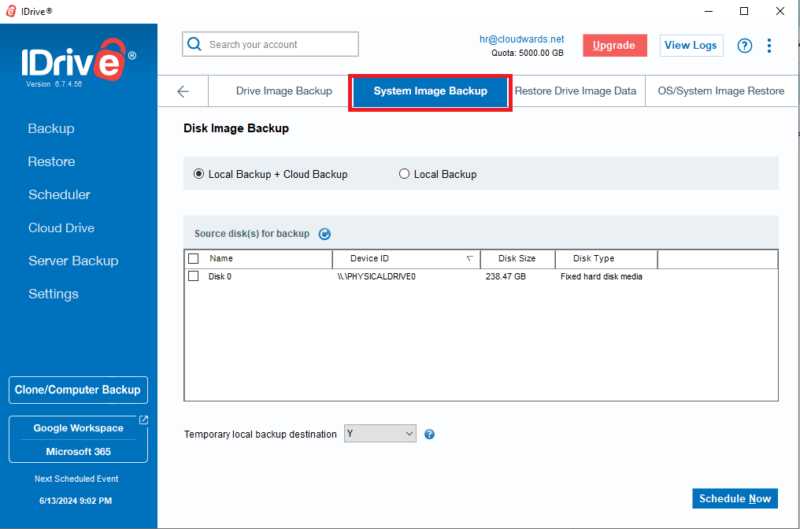
At this point, you will have four options: “drive image backup,” “system image backup,” “restore drive image” and “OS system restore.” Select “system image backup.” This will allow you to create an image disk of your entire system and its components.
- Perform the Cloud Backup
This step will copy your system and upload the system image to the cloud. There will be two options: “local backup + cloud backup” and “local backup.” Pick the first option: “local backup + cloud backup.” Next, select the drive to back up the destination drive and click “schedule now.”
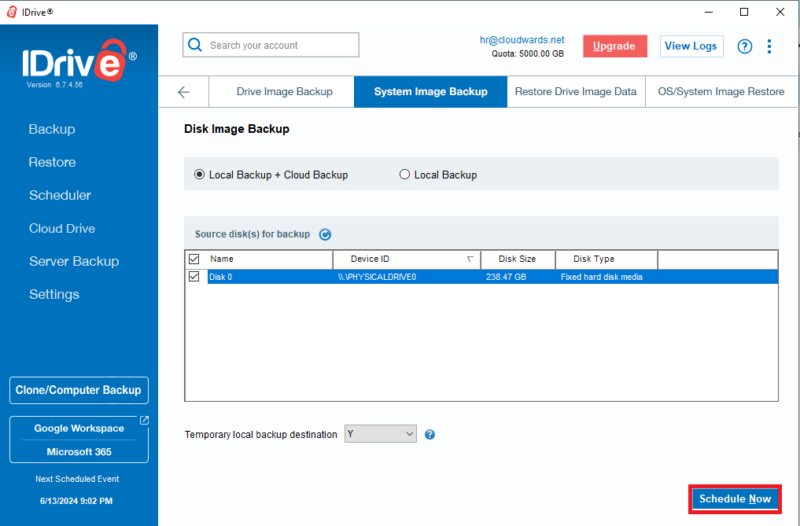
The time it takes to upload all the files to the cloud will depend on the amount of data stored on the disks, your computer’s processor speed and your internet speed.
How to Create a File History Backup on Windows 10
A file history backup allows you to save copies of the “music,” “pictures,” “videos,” “desktop” and “documents” folders onto an external hard drive or flash drive. The file history feature automatically works on the named folder locations, but you can also manually add folders to back up.
You can always restore the originals or saved versions in case you accidentally delete, damage or lose the files. For this example, we will use built-in tools in Windows 10.
- Go to “Backup Settings”
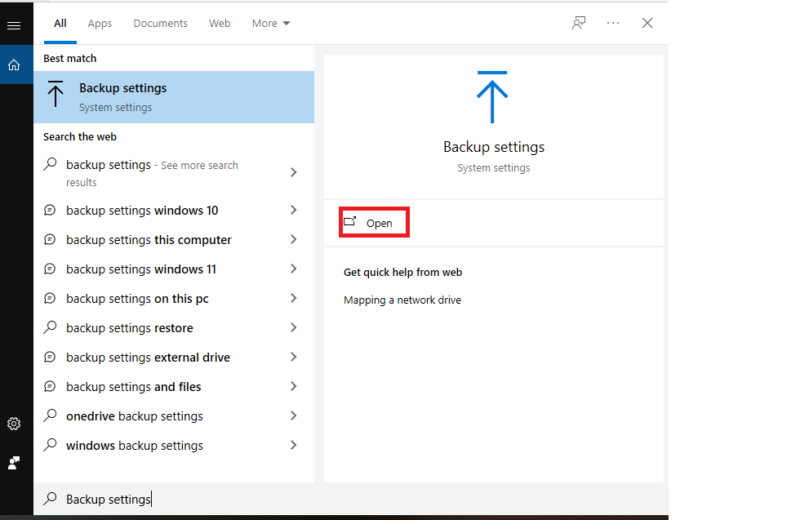
Look for the search icon at the bottom left of your Windows desktop. Search for “backup settings” and then click “open.”
- Add a Drive
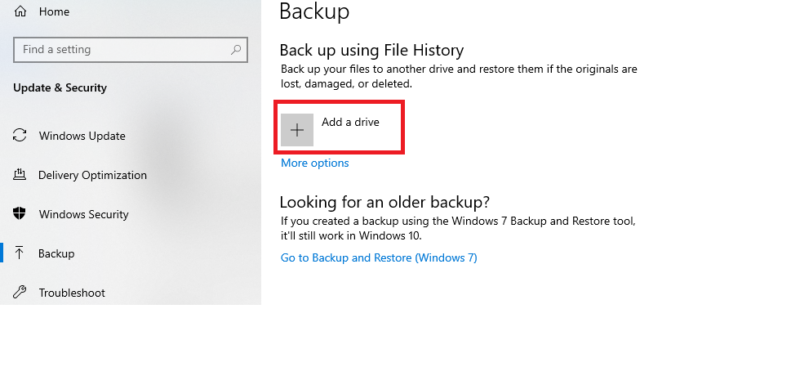
The system allows you to add a drive to store your file history. Click on the “add a drive” icon.
- Select a Drive
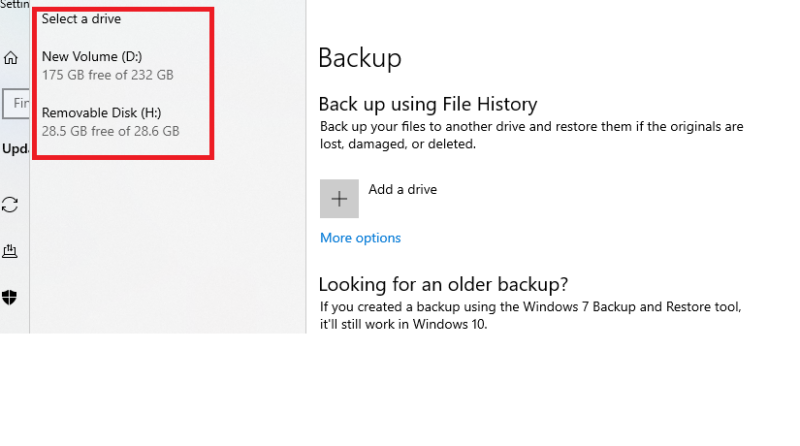
Windows will display all the available drives on your system (including external). Our system shows only two drives, but you may see more depending on the number of partitions you have.
- Turn On Automatic File History Backup
After selecting your target drive, turn on “automatically backup my files” if it’s not already on. Next, click on “more options” to customize the backup and configure the advanced settings.
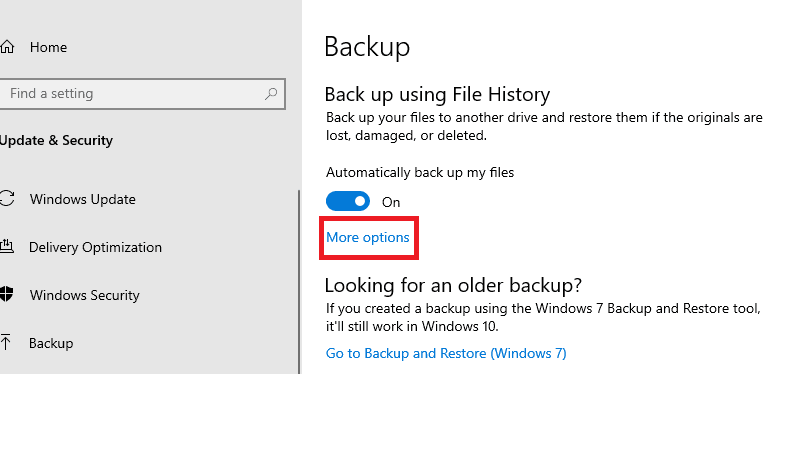
- Select the Cycle Time
After clicking on “more options,” you will see two customizable options: “back up my files” and “keep my backups.” Each of these options has a dropdown where you can select a cycle time. For this example, select “every hour” and “keep them forever.”
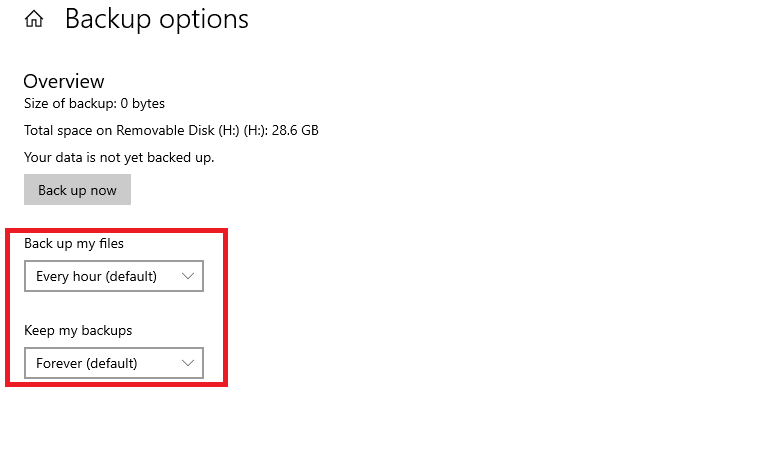
- Select the Folders to Back Up
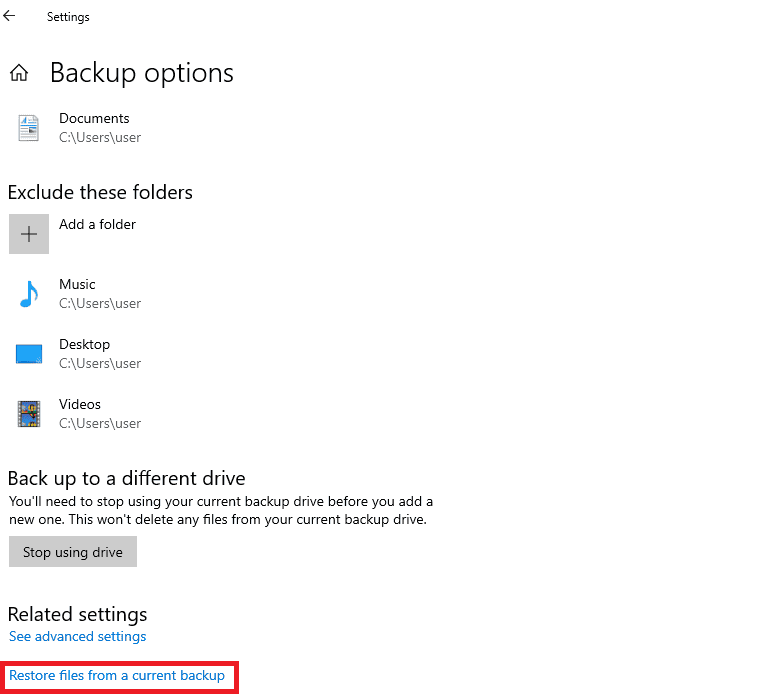
The backup interface will display various folders that are ready to be backed up. You can customize your list using the “add a folder” and “exclude these folders” options. Once you’ve done this, click “back up now” to start the process.
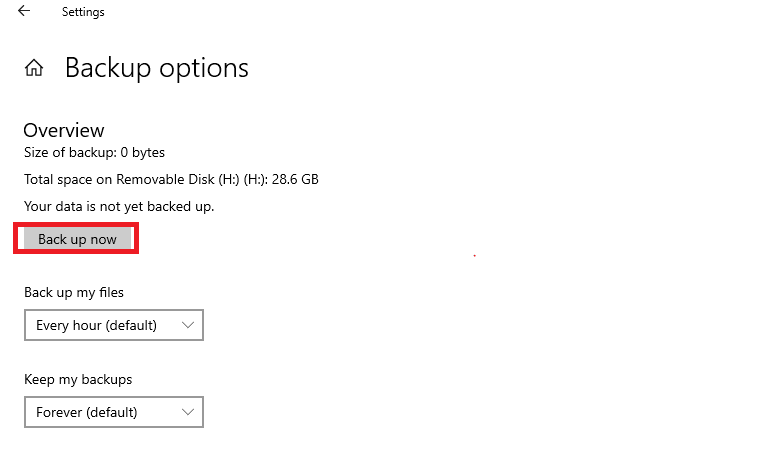
How to Use the Windows Backup Tool
Windows has a default tool that you can use to back up your files and folders. This approach ensures you have copies of your files even if you face hard drive failure. These are the steps to follow if you wish to use the built-in Windows tool.
- Log In to Your Microsoft Account
From your Windows desktop, go to “start” > “settings” > “accounts” > “your info.” You can then select “sign in with a Microsoft account.”
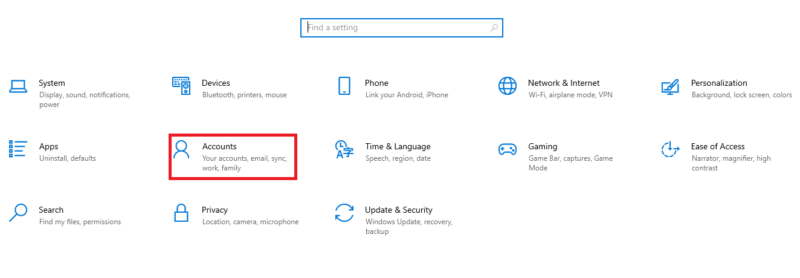
- Select Folders to Back Up
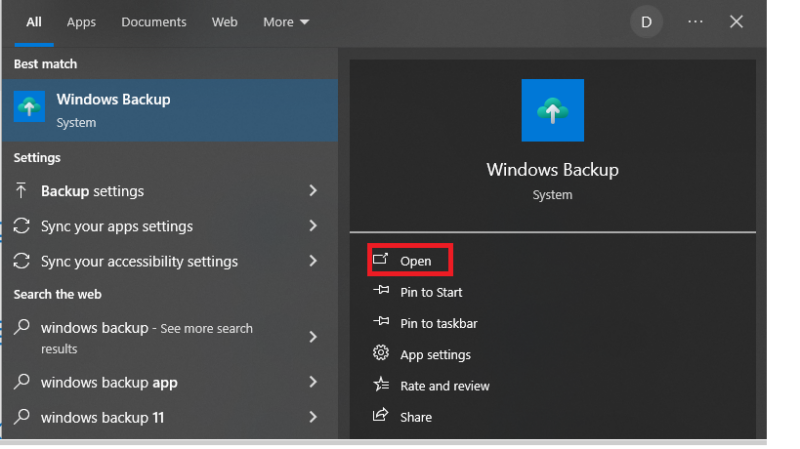
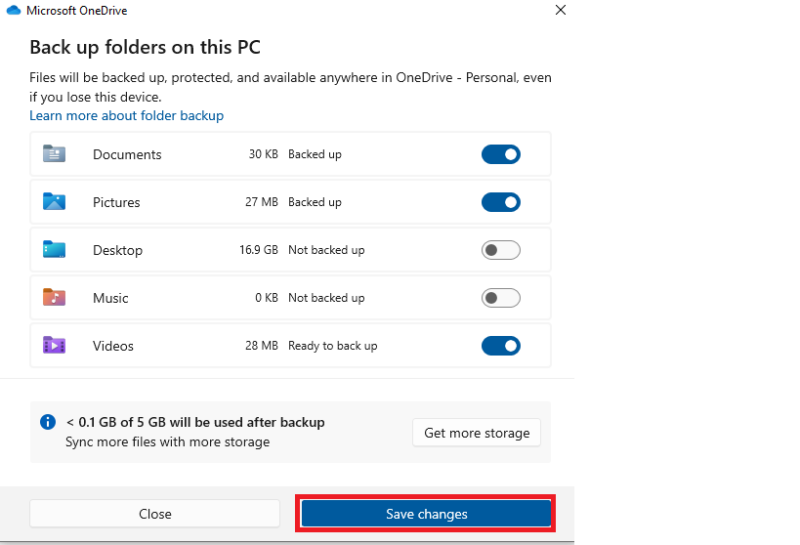
Once you open “Windows backup,” you will be taken to a new window where you can select the folders to back up to the OneDrive account. Select all the folders you need to store online and click “save changes.”
Final Thoughts
Anyone wanting to create and restore a Windows backup has two software options: a cloud backup provider or the built-in Windows backup tool. You can create a full-system backup or back up select files and store them on a cloud backup platform or an external hard disk. The file recovery process will depend on the backup approach you choose.
Backing up your files or running a full backup to external hard drives is fine, but you risk losing your data if the drive becomes corrupted, suffers physical damage or is stolen. For easier accessibility and better security, the best option is to store copies of your files or the entire system on a cloud backup service like IDrive.
Has your Windows PC ever crashed and caused you to lose data? Have you backed up the entire system or just a few files and folders? How smooth was the experience? Share your thoughts in the comment section. Thanks for reading.
FAQ: Windows 10 Backup
Yes. You can create copies of your system using the “system image” feature or back up a few files using the built-in backup tool.
The best approach is using a cloud backup service like IDrive with a disk image feature. IDrive makes it easy to restore your system when hardware fails or disaster hits.
The best backup method for Windows 10 is to use a cloud platform as a backup destination. This approach makes it easy to access your files remotely.
To copy an entire computer to an external hard drive, you need to generate an image of the entire computer. You can use the built-in tool in Windows 10 or a third-party service like IDrive to create the backup and then transfer it to the external drive.


