How to Clone a Hard Drive on Windows 10 & 11 and Mac in 2025
Cloning your hard drive helps you keep copies of your important data and makes system migration a breeze. We’ll teach you how to clone a hard drive on Mac, Windows 10, Windows 11 and SSD in this guide.
Cloning a hard drive involves making an exact copy of everything from a source drive to a target drive. The process duplicates the partitions, filesystems, slack space and drive metadata. This technique copies a computer’s configuration to preserve data and deploy it later. You can learn how to clone a hard drive on a Windows computer, even with zero technical knowledge.
Windows doesn’t have native disk cloning capabilities. This means that you’ll have to use a third-party tool, but the process is simple all the same. This article will teach you how to clone a hard drive on Windows 10 and 11, as well as Mac. If you’re seeking a simple backup tool, check out our best online backup recommendations.
-
11/28/2024 Facts checked
Rewritten to include up-to-date information about features and processes.
How to Clone a Hard Drive on Windows 11 & 10 Using IDrive
To clone your hard drive, you need to use a third-party cloning tool. We recommend using IDrive because it has one of the easiest hard drive cloning processes. It also has a free plan that accommodates 10GB of data. Our IDrive review has more details. Follow this step-by-step guide for disk cloning to prevent any data losses in the process.
- Download and Install a Cloning Tool
Choose a drive cloning tool that suits your needs and download it. We’ll use IDrive for this example. Once it’s downloaded, install the software by running the setup wizard.
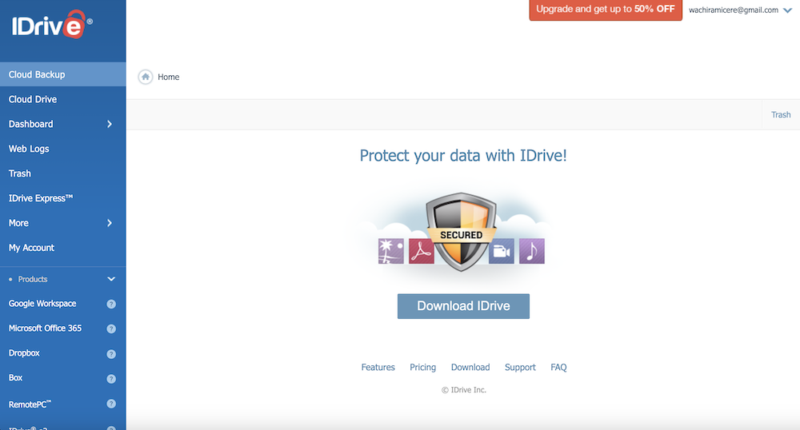
- Sign In to IDrive
Use your username and password to sign in to your IDrive account and initiate the cloning process.
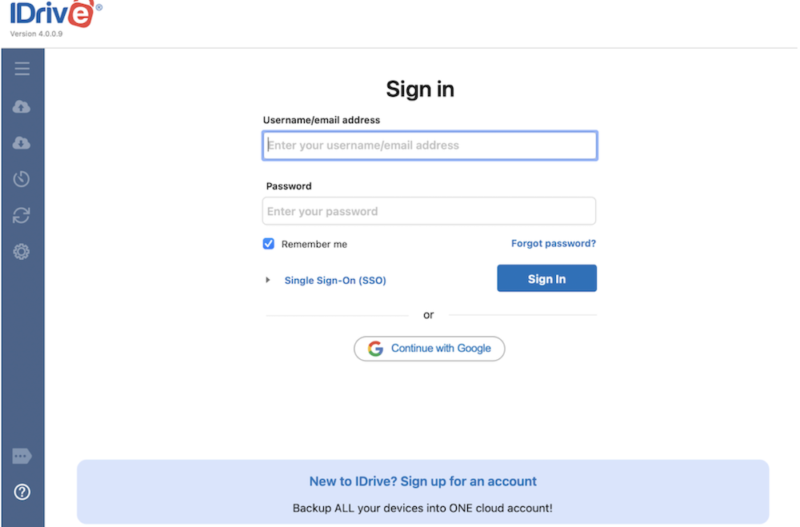
- Open the “Backup” Window
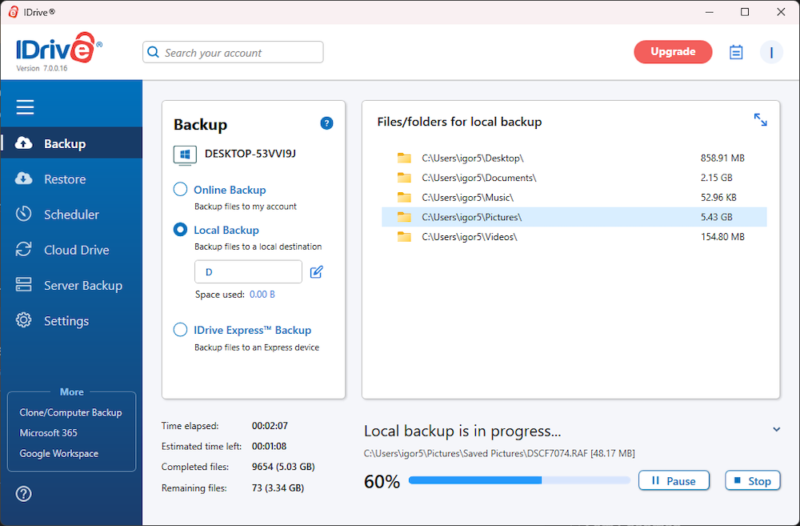
On the left-hand side menu, click the “Backup” option to open up the backup window and choose the “Disk Clone” tab.
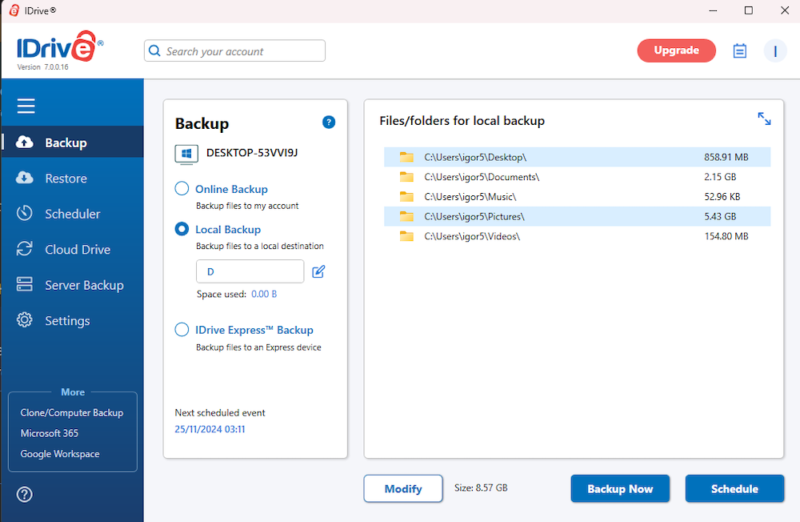
- Choose the Source Disk
Pick the source disk or the disk drive files you want to clone on your PC. Then choose the target disk – the one that will hold the copied data. In our case, we’re cloning our picture files to Disk D. Click “Yes” on the pop up window for confirmation.
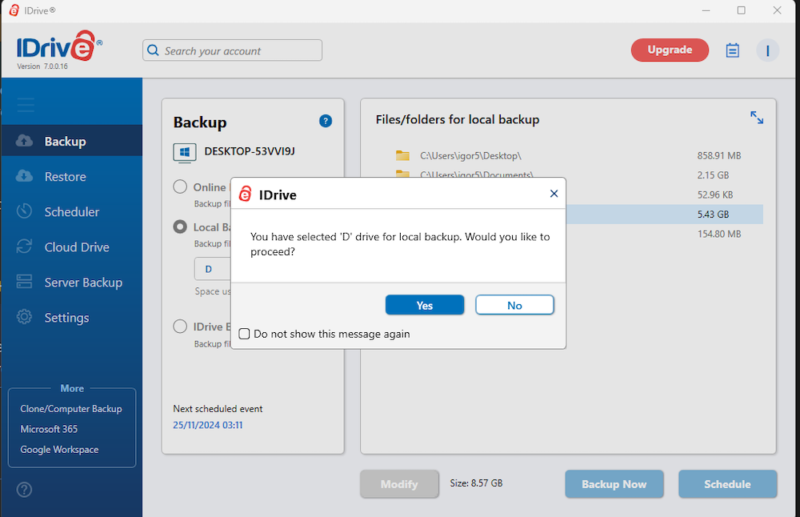
- Complete the Cloning Process
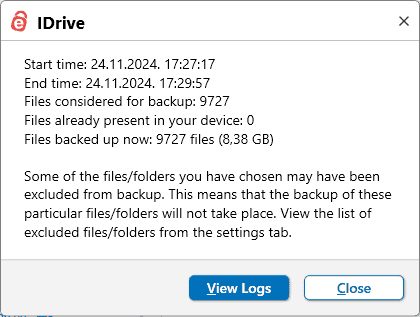
Once your desktop PC has completed the process, you’ll get a window showing whether all your data was successfully cloned.
- Review the Files that Didn’t go Through
Sometimes some files won’t be cloned onto the destination disk. Click “View Logs” to view the ones that were successfully transferred and those that didn’t make it through.
- View Clones Disk on PC
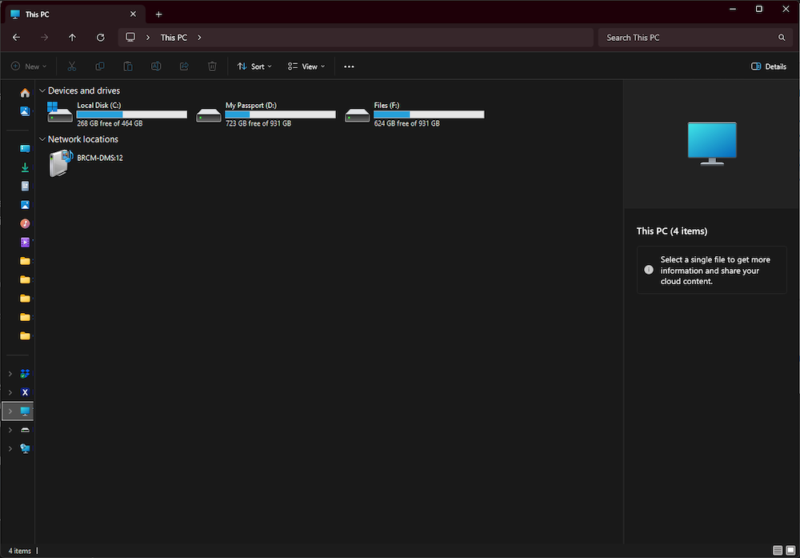
View the cloned drive on your computer by going over to Explorer and clicking on “This PC.”
EaseUs Disk Copy: Windows 10 & 11 Disk Cloning Software
Another way to clone a hard drive on Windows 10 and 11 is by using dedicated disk-cloning software like Macrium Reflect or EaseUS. Back up all the data on the target disk if it’s not brand new. This is because cloning will erase everything on the target disk. After ensuring there’s enough space on the target disk, download the cloning software you’ll use; we used EaseUS.
- Initialize the target disk to ensure the partition style matches the one on the old disk.
- Next, go onto EaseUs and click “Clone.”
- Select the source disk and click next.
- Select the target disk and click “Continue.”
- Choose your preferred disk layout.
- Finally, click “Start” to begin the cloning process.
How to Clone a Mac Hard Drive
You can clone a Mac drive using the Disk Utility app found in the Utilities folder. This lets you duplicate the source drive data to your Mac or to an external disk. Open the Disk Utility app, select the destination drive and the source drive, and click “restore.” Check the status bar to ensure the cloning process is complete before clicking “done.”
We recommend that you run the new drive to check that it works before finishing the process entirely. We also suggest cleaning up your disk to remove duplicate files, broken registry items and other unnecessary data to save space while cloning.
How to Clone a Hard Drive to SSD on Any Operating System
Cloning a hard drive to a solid state drive follows identical steps to the Windows process above. Download and install a cloning software, create an account and sign in before setting up the procedure.
The only difference when cloning a hard drive to an SSD is that you’ll have to choose the SSD partition as the target drive. If it’s an external one, be sure to plug it in before you begin. If you’re simply looking to back up your data instead of cloning a drive, read our best unlimited online backup tools for more options.
How Long Does It Take to Clone a Hard Drive?
The time it takes to clone a hard drive depends on factors like the amount of data being transferred, the speed of the drives, and the size of the hard drive. It’s faster to clone onto larger HDDs than smaller ones.
In addition, the type of hard drive being cloned also affects the speed of the process. For instance, if you’re cloning an HDD to an SSD, it will take more time compared to cloning an SSD to a new SSD. Our piece on faster online backup services has more details to help you achieve faster performance.
Final Thoughts: Clone a Hard Drive With a Drive Cloning Tool
Cloning a hard drive isn’t as complex as it sounds — with the correct software, it’s a breeze. If you’re wondering how long it takes to clone a hard drive, factors like the amount of data being cloned and the speed of the drives will influence the answer. We used IDrive for this article because it’s simple to use and follows the same process across multiple operating systems.
Do you have a program installed for cloning? How well does it work for you? Are you looking to switch to another software? Let us know in the comments, and thank you for reading.
FAQ: HDD Cloning Process
Yes, you can completely clone a hard drive by making an exact copy of it onto another device or a new drive.
It is better to clone a drive than to image it because cloning lets you quickly recover data in case of losses.
No, there’s no native cloning software available on Windows 10. However, you can download a third-party tool to complete the cloning process.
Yes, it is legal to clone a hard drive because you’re simply making a copy of your own computer assets and data.


