How to Use Kodi: 2025 Ultimate Kodi Guide
The free media player Kodi is a treasure trove of movies, TV shows and more, but finding your way around it can be a tad perplexing at first. If you're in this boat, read our comprehensive guide on how to use Kodi and install it on various devices.
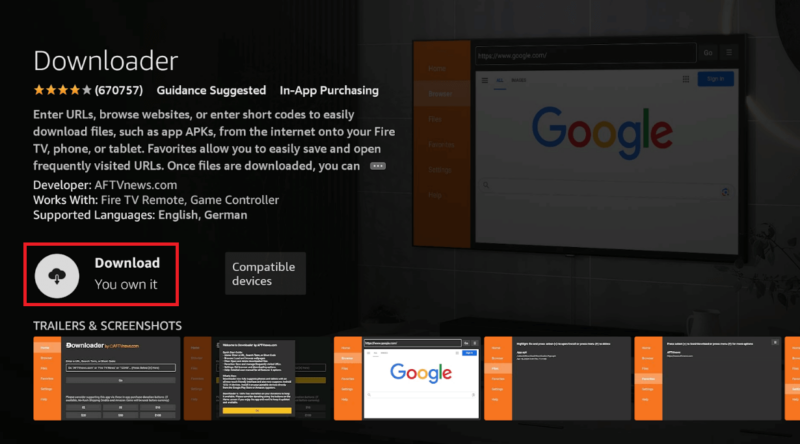
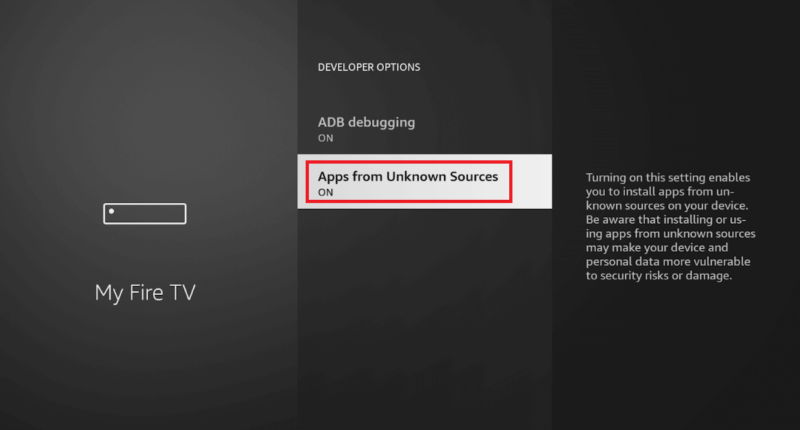
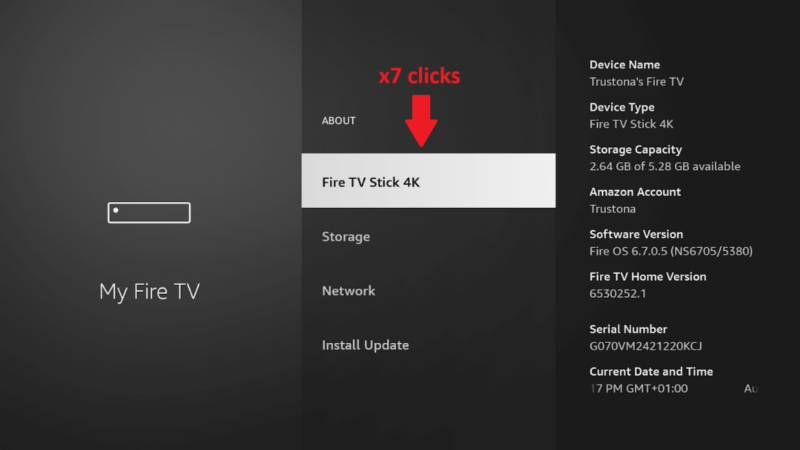
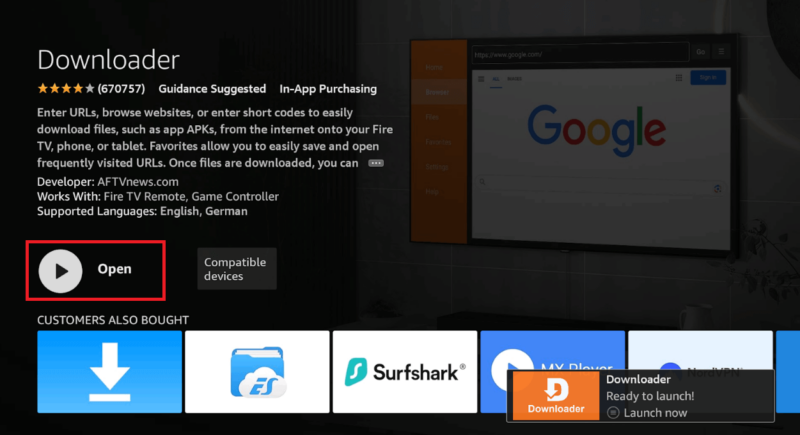
Are you drawn to Kodi’s powerful media management and add-ons full of free content, but aren’t sure how it works or how to install it on your device? No worries: We’ve put together this comprehensive guide on how to use Kodi to stream content and how to install add-ons. We also discuss some workarounds for devices with no native Kodi support, like Firestick.
Kodi is easy to use once you get the hang of it, but installing the software and navigating the user interface isn’t always straightforward for beginners. Without further ado, let’s get Kodi up and running so you can dive straight into watching your desired movies and shows. Our Kodi guide has more information if you’d like to start there.
-
10/04/2024 Facts checked
Rewritten to include more detailed and up-to-date information on using Kodi and installing it on various devices.
What Is Kodi?
Kodi is a free media streaming platform that lets you import and organize local media like video files, music files, game files, photos and more. The software supports most formats.
However, its biggest benefit is its library of add-ons, which are similar to apps. These contain internet content such as movies, TV shows, live TV, games and news. We’ll explain more about add-ons further down.
How to Use Kodi on Various Devices
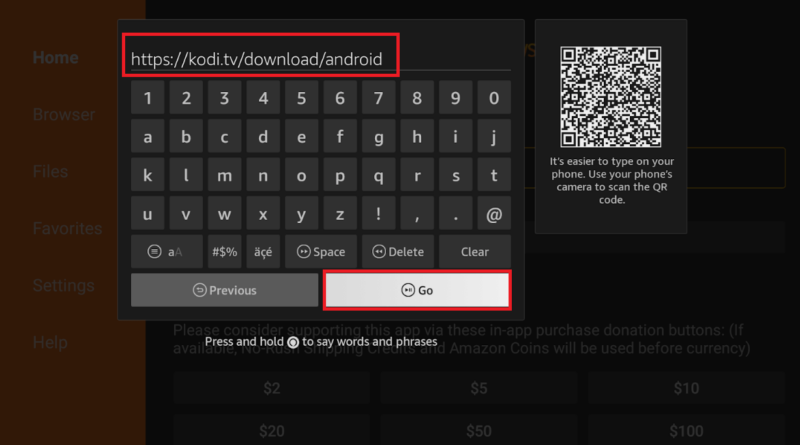
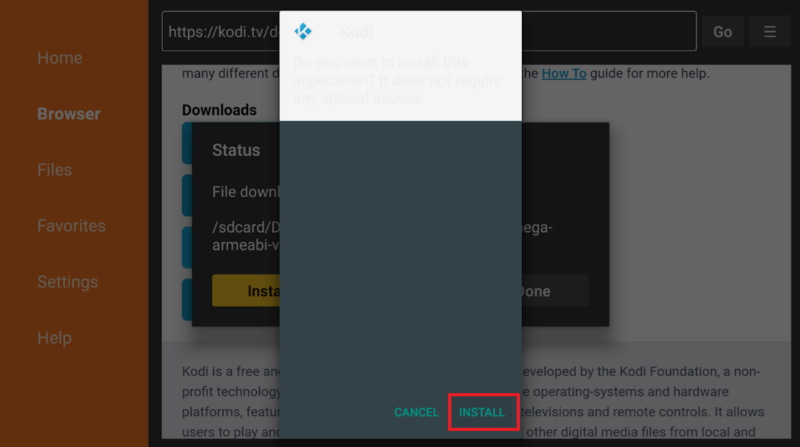
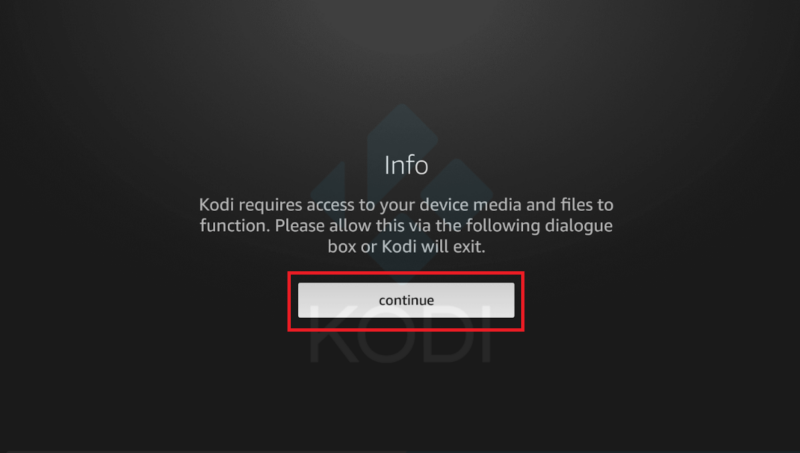
In addition to operating systems like Windows, Linux and Mac, Kodi allows you to stream movies, series, photos, music, games, news and live TV on many other devices. Examples include Firestick, Android devices, Google TV, gaming consoles and more. Check out the installation steps for these devices below.
What Is a Kodi Add-On?
A Kodi add-on is similar to an app that contains various types of media, like movies, TV shows, live TV, games, news and more. Kodi has an official repository full of this content. Its video add-ons are especially popular as they allow you to watch movies and TV shows.
There are also third-party repositories that contain add-ons — like Netflix and Disney+ — as well as Kodi skin options that aren’t part of the official repository. You should always exercise caution when it comes to third-party add-ons as some may link to pirated content.
How to Install a Kodi Add-On
How you install a Kodi add-on depends on whether it’s official or from a third party. We have a full tutorial on installing external sources in our best Kodi add-ons guide. Below is a guide on how to install addons from the official repository, which comes preinstalled on Kodi.
- Open Kodi and select the settings cog in the top-left corner of the Kodi home screen.
- Click “add-ons” and scroll down to “install from repository.” Then, select the official Kodi repository.
- Choose the type of add-on you want to install. For example, if you plan to watch movies or TV shows, click “video add-ons.”
- Click your desired add-on and click “install” in the bottom-right corner. When you see a tick next to the add-on name in the list, that means it’s been installed. To stream immediately, click the name of the add-on and select “open” at the bottom of the next page.
How to Use Kodi to Watch Movies
You can add video sources from your local library to Kodi or take advantage of installed Kodi add-ons for movies. In addition to the official add-ons, some Kodi users install add-ons via third-party repositories.
For example, the SlyGuy repository is a popular third-party repository that contains movie add-ons like Max and Disney+. However, bear in mind that these platforms don’t give you a free pass: You still need an account with paid streaming services to watch this content on Kodi. The Crew is another example of a popular third-party repository that’s full of add-ons.
Again, note that some third-party add-ons can lead you to pirated content, so it’s best to use add-ons for official platforms, whether free or paid. Once you’ve installed an add-on (see the information above), here’s how to find it in your Kodi library:
- Open Kodi on your device and scroll down to “add-ons” on the left sidebar.
- Hover over “add-ons” to reveal your add-ons library.
- Click your chosen add-on to see the categories inside it, such as movies, TV shows and so on. Start streaming your chosen content.
- If you have buffering issues when using add-ons, read our Kodi buffering guide for the fixes.
Why Use a VPN With Kodi?
A virtual private network (VPN) is a tool that switches your true IP address for one in another location. This guards your personal data from the eyes of hackers, snoopers and your ISP while letting you use the internet and streaming platforms privately. In addition to getting better privacy, here are several other good reasons to use a VPN with Kodi:
- Bypass geoblocks: Some Kodi add-ons contain geoblocked content, so a VPN can expand your streaming options.
- Prevent ISP throttling: Since your data is hidden from prying eyes, your ISP can’t throttle your internet speed.
- Enhance your security: Some third-party Kodi add-ons and builds may contain malware. By hiding your real IP address, a reputable VPN with a strong security infrastructure helps protect you from cyberattacks.
The Best VPNs for Kodi
Unfortunately, not every VPN provider is reliable or even secure. The following three VPNs are trailblazers in the industry with excellent security and privacy, and all work well with Kodi:
- NordVPN — NordVPN is a speedy provider with strong security and cheap long-term plans. If you want to find out more about our top VPN recommendation, check out our NordVPN review.
- Surfshark — Surfshark is another affordable and secure provider with a great streaming track record. All the pros and cons are detailed in our Surfshark review.
- ExpressVPN — ExpressVPN is pricier than NordVPN and Surfshark, but it’s an excellent choice for those new to VPNs. Our ExpressVPN review has all the information you need.
How to Use a VPN With Kodi
Here we’ll show you how to set up a VPN on a PC to use with your Kodi software. You can also download a VPN on your phone, tablet, TV or router, but the process differs by device.
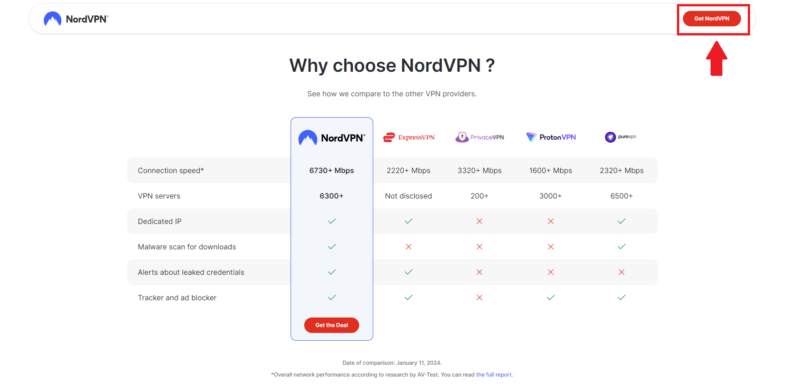
- Sign Up for a VPN
Go to your chosen provider’s website and subscribe to a plan that suits you. Reputable providers like NordVPN typically offer a 30-day money-back guarantee.
- Download the VPN
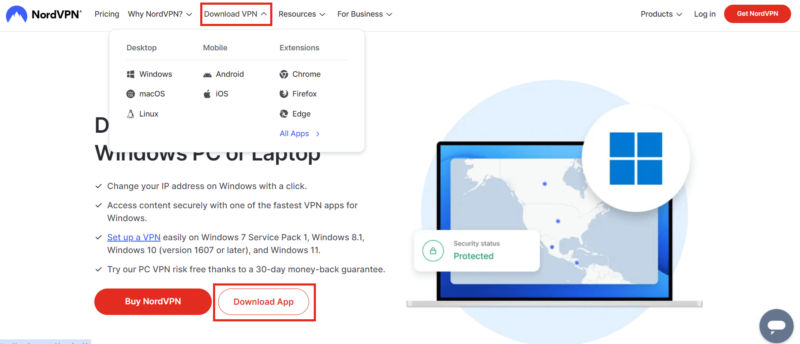
If you’ve signed up for a NordVPN account, you can download the app from the “download” tab on the website. Select the device you’re using and click “download.” Mobile users can download the app from the Google Play store (Android) or the Apple app store (iOS).
- Install the VPN
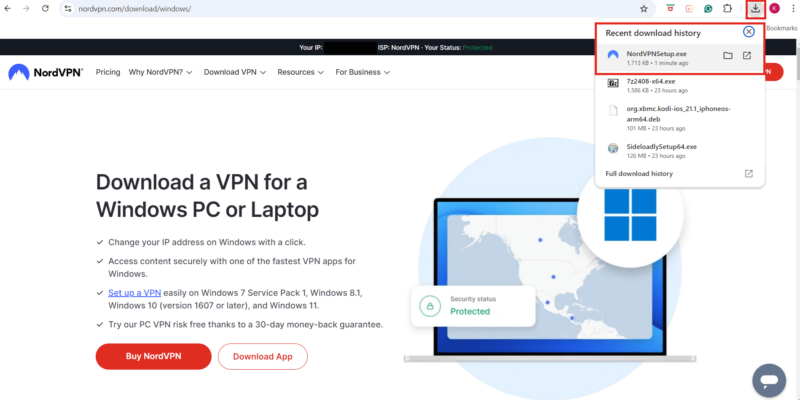
Click the “download” arrow in the top-right corner of your browser. Click the VPN’s setup file to start the installation process.
- Launch the VPN
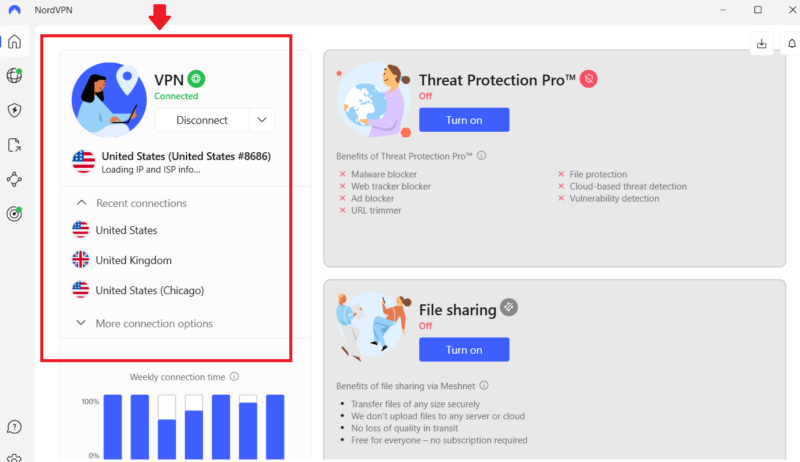
Open the VPN’s app and connect to a server in your chosen location. For example, if you want to watch content from a platform that’s available only in the U.S. (like Hulu), connect to an American server.
- Open Kodi
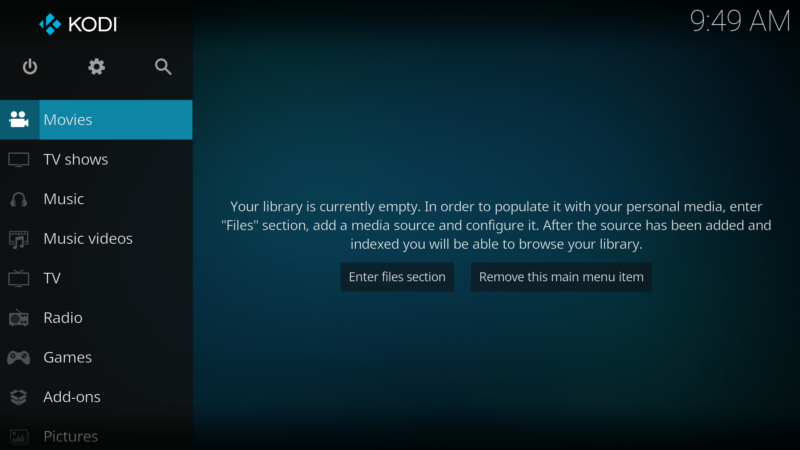
Open Kodi on your device and start streaming.
Final Thoughts
Though the process isn’t as straightforward as using a streaming platform, watching movies and shows on Kodi is easy with a little know-how, thanks to its abundance of add-ons. Remember to be careful when using third-party Kodi builds and add-ons. It’s best to protect your data with a reliable and fast VPN like NordVPN, Surfshark or ExpressVPN.
Do you use Kodi? If so, which are your favorite add-ons? Do you launch a VPN before streaming on Kodi? Feel free to share in the comments section below, and thanks for reading.
FAQ: Kodi User Guide
Kodi is a streaming software that lets you organize your local media and install a range of add-ons with content like movies, TV shows, live TV, games and more.
You can start watching content on Kodi by installing add-ons in the official Kodi repository. Some people prefer to install add-ons from third-party repositories like The Crew or SlyGuy.
Some smart TVs, like Android TV, have native support for Kodi and let you download it from their app stores. Alternatively, you can install Kodi on a device like Firestick.
You can install add-ons on Kodi from the official Kodi repository, which comes with the software and doesn’t need to be installed. You can also get them from third-party repositories.


